Long-Term Unused Vape Storage: Keep Vapes & E-Liquids Fresh
We’ve all been there: you store your vape for a long time, then pull it out and discover it leaks, the e-liquid tastes off, or the atomizer is blocked—destroying the device. To prevent waste and ensure vapes function properly, long-term vape storage is crucial. This guide shows how to store your vapes and e-liquids without damage, breaking it down into four easy steps: preparation, part storage, environmental rules, and reuse checks.
3 Prep Steps for Long-Term Vape Storage
Before storing your vape, a little preparation can prevent most damage. Skipping these steps is why many vapes fail after sitting unused—don’t make that mistake with your long-term vape storage.
1. Clean Your Vape
Leftover e-liquid turns sticky and corrosive over time. Cleaning first eliminates this gunk to shield key parts like O-rings and coils—if you skip this, old e-liquid will eat away at components and cause clogs later.
How to clean atomizers/cartridges: Take them apart, rinse with warm water, and air-dryfor 24 hours(no soap!). This ensures no moisture or oil residue is left (moisture leads to mold).
⚠️Critical note: Never use alcohol or harsh cleaners—they’ll damage O-rings and ruin the atomizer coil’s performance.
2. Handle Remaining E-Liquid (Do You Need to Empty E-Liquid for Long-Term Storage?)
Old e-liquid is the top cause of leaks, bad tastes, and clogs. How to handle it depends on how long you’ll store the vape—use the table below to match your situation:
| Idle Duration | E-Liquid Handling | Key Notes | Core Purpose |
| Short-term (1-2 months) | Keep a small amount (just enough to cover the coil) | Check once a month for leaks or e-liquid discoloration | Prevent the atomizer coil from drying out (dry coils break fast) |
| Long-term (3+ months) | Empty completely: 1. Disassemble the atomizer → 2. Tilt to pour out liquid → 3. Wipe the inner wall with a paper towel | Ensure no liquid remains in the airway (use a thin cotton swab for hard-to-reach spots) | Avoid e-liquid oxidation (sour taste), airway clogs, and metal part corrosion |
Skipping this step leads to oxidized e-liquid that tastes sour, blocked airways that make vaping hard, and corroded metal parts that ruin the device.
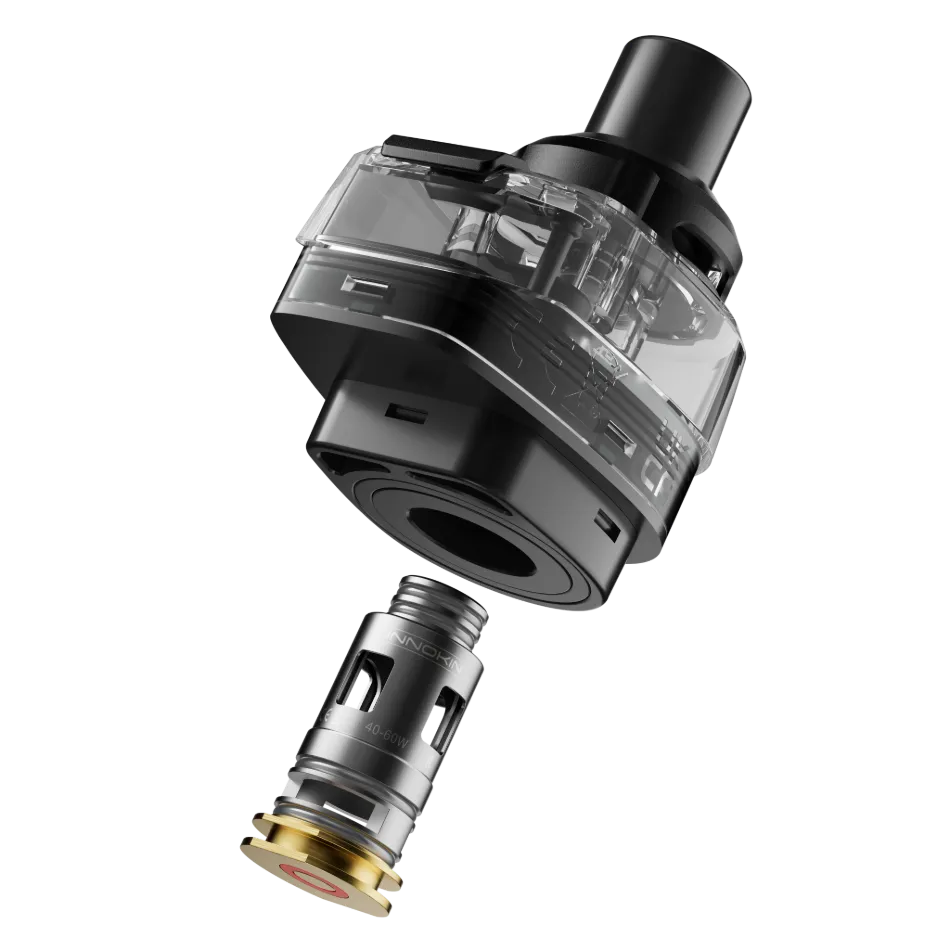
3. Disassemble Vape Parts (How to Disassemble Vapes for Storage)
Leaving parts connected (e.g., battery + atomizer) causes unnecessary wear—threads can get stuck, and O-rings may compress and lose their seal over time. Disassemble these parts forlong-term vape storage:
Must-take-apart parts: Battery, atomizer (with coil), cartridge/tank, mouthpiece.
⚠️Tip: Be gentle—don’t force parts. Twist threads slowly to avoid breaking them, and set small parts (like O-rings) in a clean dish to avoid losing them.
Store Vape Parts Separately
After prep, storing parts separately is key—this prevents friction between components and avoids cross-contamination.
1. Store Vape Batteries
Batteries are the most fragile part of a vape—bad storage causes swelling, leaks, or even short circuits. For long-term vape battery storage:
Charge to 50%-70%: Full charge wears out battery cells over time; dead batteries may “sleep” and fail to recharge later. This balance keeps the battery healthy.
Use an insulated battery case: Never leave batteries bare—they’ll short if they touch keys, coins, or other metal objects.
⚠️Avoid: High heat (e.g., car trunks in summer), cold (e.g., fridges), direct sunlight, or flammable items (lighters, perfume).
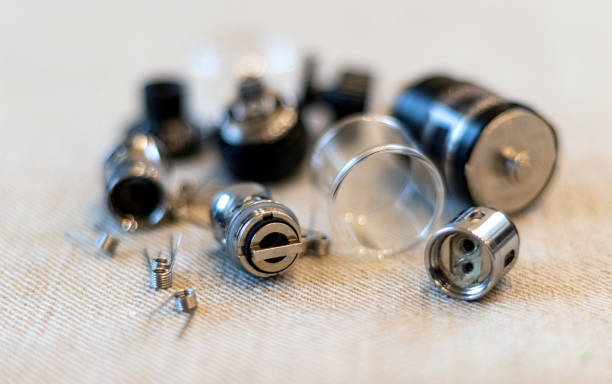
2. Store Atomizers & Coils
Atomizers and coils clog or dry out if stored wrong—ruining your first hit when you reuse the vape. For long-term atomizer storage:
- Dry completely after cleaning: Let it air-dry for 24 hours (no moisture = no mold growth).
- Protect coils:
- New unused coils: Keep in their original sealed packaging (avoids dust and moisture).
- Used coils: After cleaning, wrap them in a dry paper towel before sealing in a small bag (absorbs residual moisture).
- O-ring care: Add a tiny dot of e-liquid to O-rings—this stops them from drying out and cracking (cracks cause leaks).
- Use a clean, sealed container: Keeps dust out of the airway (dust clogs the atomizer).
3. Store Cartridges/Tanks
Emptying alone isn’t enough—proper storage avoids mold and taste transfer. For long-term tank storage:
Air-dry fully: Leave the tank open for a few hours after cleaning (no dampness = no mold).
Store loosely sealed: Tight sealing traps moisture (mold’s favorite)—leave the cap slightly open or use a container with a small vent.
⚠️Don’t: Store near smelly items (e.g., food, coffee, perfume)—the tank will absorb these smells, and your next vape will taste like them.
4. Store Mouthpieces & Accessories
Small parts are easy to forget, but dirty mouthpieces or broken cables ruin the experience. For long-term vape accessory storage:
Mouthpiece: Clean with warm water, dry completely, and seal in a plastic bag—this keeps dust and bacteria off (hygiene is key for something that touches your lips).
Charging cable: Wrap it neatly (don’t twist too tight!) and put it in a small box—tangled cables break inside, leading to charging issues later.
Environment Rules for Long-Term Vape Storage
Even well-prepped parts break in bad environments. Follow these rules forlong-term vape storage—use the table to quickly reference key requirements:
| Environment Factor | Standard Requirement | Taboo Scenarios | Common Mistakes to Avoid |
| Temperature | 15℃-25℃ (room temperature) | Balconies (direct sunlight), car trunks, fridges | Storing in summer cars (causes battery swelling and e-liquid evaporation) |
| Humidity | 40%-60% | Bathrooms (steam), basements (damp) | Forgetting silica gel in rainy areas (add a packet to the storage box—don’t let it touch vape parts to avoid scratches) |
| Light | Dark places (drawers, opaque boxes) | Sunlight, bright desk lamps, near windows | Storing near windows (UV light oxidizes e-liquid, turning it dark and sour) |
| Odors & Corrosives | Away from strong smells/chemicals | Perfume bottles, cleaning products, coffee jars, bleach | Storing with food (tastes transfer to the mouthpiece and tank) |
Key Add-On for Humid Areas
If you live in a rainy or humid region, “humidity for vape storage in rainy areas” is a common concern. Add a silica gel packet to your storage container—this absorbs excess moisture and keeps parts dry. Just make sure the silica gel doesn’t touch the vape directly (it can scratch plastic or metal).
3-Step Check for Reusing Stored Vapes
Never skip checks before using a stored vape—safety and taste matter. This is part of smart long-term vape storage:
1. Visual Check
Inspect every part carefully:
Battery: No swelling, leaks, or dents. ⚠️ Critical: If the battery is swollen, throw it away immediately—it may leak or catch fire.
Atomizer: No cracks in the body; O-rings are intact (no tears or cracks—these cause leaks).
Tank: No mold (check the inner wall for white/green spots) or leftover e-liquid.
2. Function Test
Battery: Charge it fully first (even if it was at 50%-70% when stored). Turn it on—if it doesn’t power up, the battery is dead and needs replacing.
Atomizer: Use a new coil (used coils from storage may be dry or clogged). Add a small amount of e-liquid, wait 5 minutes (lets the coil soak up liquid), then take a small hit. Check for leaks (liquid on the outside) or no vapor—if there’s no vapor, the coil is bad.
3. E-Liquid Check
If you kept e-liquid for short-term storage (1-2 months):
Look: If it’s darker than before, it’s oxidized—throw it away (oxidized e-liquid tastes sour).
Smell: If it smells weird (e.g., like vinegar or rot), don’t use it—this means it’s gone bad.
Conclusion
To summarize, long-term vape storage is simple with these 5 easy steps:
- Clean → 2. Disassemble → 3. Store parts separately → 4. Control the environment → 5. Check
Doing this extends your vape’s life, keeps e-liquids fresh, and saves money. With these tips, your vape will be ready to use anytime—no leaks, no bad tastes, just a great hit.